
Table of Contents
- What Is an Independent Science Book Creator?
- How to Write a Science Book for Kids: Step-by-Step
- Using a Children’s Book Outline Template
- Science Book Illustration Ideas That Engage Students
- Science Fact-Checking for Authors: A Practical Checklist
- Designing Interactive Notebooks and Lab Reports
- Publishing and Sharing Your Digital Book with Students
- Frequently Asked Questions
Last Updated: October 9, 2026
What Is an Independent Science Book Creator?
An independent creator can produce a complete science book without a traditional publishing house, covering idea, draft, illustration, fact-checking, layout, and sharing with students.
At LumaLayer Creations, we build our own children’s science books and classroom materials, so we know the difference between a tool that helps and one that just adds steps.
What an independent creator actually does when making a science book:
- Holds your manuscript, images, and layout in one place
- Gives you templates for pages, covers, and interactive elements
- Exports a shareable digital book (PDF, ebook, or web link)
- Keeps everything editable so you can revise between class sections
The real value is control. You decide the reading level, the science topics, and how the book connects to your lesson plans.
How to Write a Science Book for Kids: Step-by-Step
Writing a science book for kids follows a repeatable process: define your audience, draft the manuscript, revise with real feedback, illustrate, fact-check, and publish. Each stage has a clear deliverable, so you always know what “done” looks like.
Step 1: Pitch Your Idea and Define the Age Group
Start by writing a one-paragraph pitch. Name the science topic, the age range, and the single idea a student should remember. A book for sixth grade reads very differently from one for high school, so lock the reading level before you draft a word.
Ask three questions:
- What science topic does this cover, and why now?
- What age group is this for, and what do they already know?
- What should a student be able to explain after reading?
If you cannot answer all three in one sitting, the idea needs more shaping.
Step 2: Draft Your Manuscript in Google Docs
Draft in Google Docs or a similar word processor before you touch any design tool. Plain text keeps you focused on writing and makes educator feedback easy to track. Write to the age group, not above it: short sentences, one concept per page, and a concrete example for every abstract idea. Keep a running list of any claim a reader might question, because you will fact-check those later.
Draft the glossary and captions at the same time as the main text. Captions carry a surprising amount of the science, and writing them early stops you from cramming definitions into the body copy.
Step 3: Revise and Refine with Educator Feedback
Hand the draft to two or three educators who teach that age group. Ask them to mark anything confusing, too advanced, or that does not match how the topic is actually taught. Revise in passes, structure, then clarity, then accuracy, because a book project improves fastest when each pass has one job.
Using a Children’s Book Outline Template
A children’s book outline template maps every spread before you write it, turning a vague idea into a page-by-page plan, the single biggest time-saver in the process.
A workable outline template has four columns:
| Column | What It Holds | Example Entry |
|---|---|---|
| Page | Spread number | Page 6-7 |
| Concept | One science idea | How roots absorb water |
| Visual | What the reader sees | Cross-section of a root |
| Takeaway | The one-line lesson | Roots pull water upward |
Fill the Concept column first, then the Visual column. If a page has no clear takeaway, it does not belong in the book. Templates also keep your page count honest.
The outline is the cheapest place to cut. Removing a weak page from a template costs nothing; removing it after illustration costs hours of redrawn art.
Science Book Illustration Ideas That Engage Students
Illustration ideas work best when they serve the science, not decorate it.
Match the illustration type to the job it does. Most science pages need one of five visual jobs, and each has a different accuracy risk:
| Visual job | Best format | Accuracy risk to watch |
|---|---|---|
| Show internal structure | Cutaway or cross-section | Proportions drift from the real object |
| Show a sequence | Numbered process panels | Steps get reordered or merged |
| Show relative size | Scale bar or side-by-side comparison | No scale reference, so size reads wrong |
| Show change over time | Before/after or timeline | Implied rate of change is exaggerated |
| Guide attention | Recurring character or arrow cue | Cue points at the wrong part of the diagram |
Build a visual style sheet before you draw page one. A one-page style sheet keeps a multi-week project coherent, locking:
- One line weight for outlines and a heavier weight for emphasis
- A palette of no more than five colors, with one reserved for “this is the key idea”
- One label style (font, size, arrow type) used on every diagram
- A rule for when to use a photo versus a drawing
Consistency matters more than polish. A common mistake is mixing photo-realistic images with flat diagrams, which makes a book feel assembled rather than designed.
Decide the production path early, because it changes the whole schedule. Three workable paths trade control against time:
- Hand-drawn or scanned art: Maximum control and a distinctive look, but every revision means redrawing. Best when the art is simple and the page count is low.
- Vector diagrams built from shapes: Fully editable, scales cleanly to print, and easy to correct after fact-checking. The best fit for process and cross-section diagrams.
- Stock or licensed photography: Fast for real-world subjects like animals or landforms, but you must track the license for every image and confirm it allows the use you intend.
Whichever path you choose, keep the source files. A layered vector file lets you fix a mislabeled arrow in minutes; a flattened image forces a full redraw.
Draw the diagram before you finalize the caption. If you cannot write a one-sentence caption that matches the picture, the picture is doing the wrong job.
Make the visuals accessible from the start. Add alt text describing what the diagram shows and what it means, not just what it looks like. Use color plus a second cue (a pattern, label, or shape) so the diagram works for readers who cannot distinguish the palette. Keep label text readable relative to the page, and check text-background contrast.
Science Fact-Checking for Authors: A Practical Checklist
Fact-checking is where a science book earns trust.
Separate three kinds of statements before you check anything. Most accuracy failures come from blurring these together:
- Observation: what was directly measured or seen (“the plant grew 4 centimeters in a week”)
- Interpretation: what a scientist concludes from it (“the plant grew because it received more light”)
- Consensus: what the field broadly accepts after many studies (“plants need light to grow”)
A book can state observations and consensus plainly.
Evaluate every source against five questions. Run each source through this filter before you rely on it:
- Who is responsible? A named institution, agency, university, or museum carries more weight than an unattributed page.
- Is it primary or a summary? A study, dataset, or official report is primary; a blog post about it is a summary. Prefer primary, and use summaries only to find the primary source.
- How current is it? Check the publication or last-updated date. In fast-moving fields, a source more than a few years old may already be superseded.
- Does it cite its own evidence? A source that lists references lets you verify the claim instead of trusting it.
- Does it match other independent sources? If one source disagrees with several others, treat it as a flag to investigate, not a fact to publish.
Run this checklist before publishing:
- Every number has a source you can cite
- Every interpretation is attributed, not stated as fact
- Diagrams match the descriptions in the text
- Units are consistent across the whole book (and use the same system throughout)
- No claim is stated more strongly than the evidence supports
- A subject-matter expert has reviewed the technical pages
- Sources are current, not recycled from an older edition
- Every source is logged with its title, publisher, and date
Cite in a way young readers can follow. Full academic citations overwhelm a children’s book, but a source note still belongs.
For source evaluation, prefer primary and institutional sources over summaries. The Smithsonian Science Education Center publishes classroom-ready science materials that model how to present findings accurately.
The most common accuracy failure is a diagram that quietly contradicts the text. If the caption says water moves upward and the arrows point down, students trust the picture and learn the error. The second most common is a number with no source, which a sharp student will question and you will not be able to defend.
Build a review loop, not a one-time pass. Have a subject-matter expert check the technical pages, then re-check only the pages that changed. Re-verify claims tied to fast-moving topics before a new edition, and date-stamp your source log.
Designing Interactive Notebooks and Lab Reports
Interactive notebooks and lab reports turn a finished book into a working classroom tool: students write in it, annotate it, and build a record of their own science learning.
Design pages that invite a response:
- Leave blank space beside each diagram for student notes
- Add a prediction box before every experiment
- Include a labeled lab report template with hypothesis, method, and result fields
- Build a glossary page students complete themselves
These pages double as student portfolios: when a class finishes a unit, the notebook shows what each student understood, making assessment easier than a single test.
Publishing and Sharing Your Digital Book with Students
Publishing means choosing a format and distribution method that fit your classroom.
| Format | Best For | Trade-off |
|---|---|---|
| Printing and offline reading | Fixed layout, no interactivity | |
| Ebook | Tablets and e-readers | Needs a reader app |
| Web link | Sharing and updating | Requires internet access |
Check accessibility before you share. Add alt text to every image, use readable font sizes, and keep contrast high so students with visual needs can use the book.
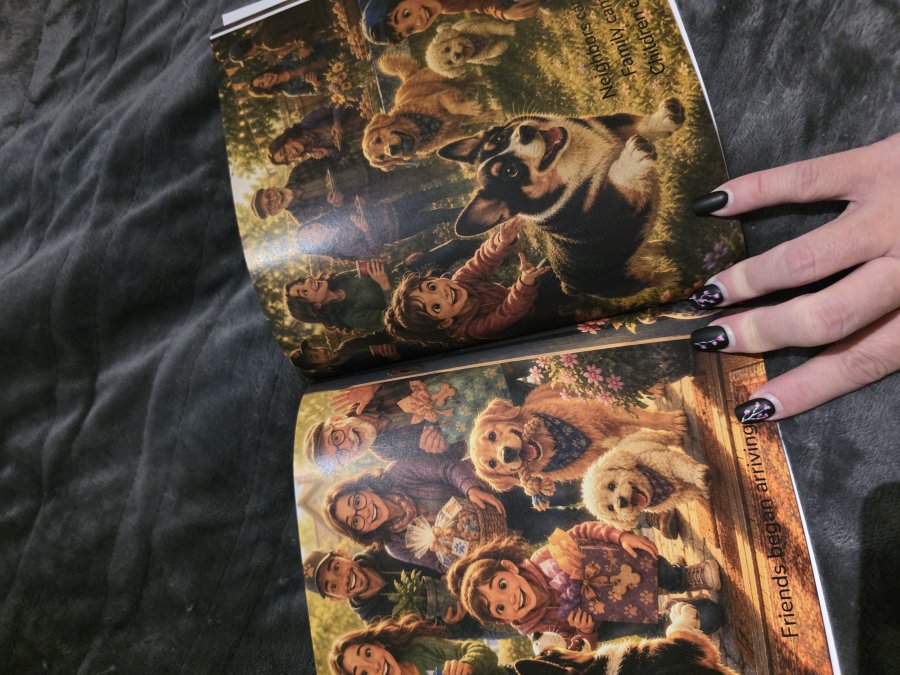
LumaLayer Creations publishes its own children’s science and coloring titles this way, and the same principles apply whether you use a dedicated tool or a general design tool.
Frequently Asked Questions
How do you create a science book for children?
Start by choosing a single science topic that fits your students’ grade level. Write a simple outline, then draft your text in a tool like Google Docs. Add illustrations that clarify the science, and fact-check every claim against a reliable source. Finally, design the pages and share the finished book as a digital file or printed copy. A dedicated tool can help you manage the layout and publishing steps.
What makes a science book engaging for young readers?
Engaging science books use clear language, vivid illustrations, and questions that make students think. Include hands-on activities or prompts that connect the topic to everyday life. For example, a book about insects might ask students to observe a butterfly in the schoolyard. Interactive notebooks and student-created pages also keep readers involved. Aim for a mix of facts and curiosity-driven exploration.
How long should a children’s science book be?
Length depends on the age group. For K-2 students, aim for 500 to 800 words with one idea per page. For grades 3-5, 1,000 to 2,000 words works well. Middle and high school books can run 3,000 to 5,000 words if they include lab reports or deeper explanations. Keep the focus on clarity and engagement rather than hitting a specific word count.
What tools can help you create an illustrated science book?
Google Docs and Google Slides are free options for drafting and basic layout. Canva and Adobe Express offer templates for covers and sample pages. For more control, try Book Creator or StoryJumper, which are designed for classroom use. A dedicated tool can streamline the process from draft to published ebook. Many educators combine two or three tools to handle writing, illustration, and publishing.
How do you check scientific facts in a book?
Use a three-step process. First, verify each fact against at least two reputable sources, such as university websites, NASA, or NOAA. Second, check that the information is current, especially for topics like space or climate. Third, ask a colleague with science expertise to review your manuscript. Keep a simple fact-check log that lists each claim, its source, and the date you verified it.
Building a science book is a project with a real finish line, and the hardest part is usually deciding the book is done. LumaLayer Creations helps educators and authors get there with independently published children’s books, original 3D-printed anatomical models that make complex biological structures tangible, and creative materials that blend science and curiosity. Explore our shop to see how our independently published titles and custom models can support your classroom.
0 Comments