

Table of Contents
- Why 3D Printed Props Dominate the Convention Floor
- Best Materials for 3D Printed Props: PLA vs PETG vs Resin
- Top 3D Printed Props That Turn Heads at Conventions
- Cosplay Prop Finishing Techniques for a Professional Look
- 3D Printed Cosplay Weapon Safety Rules and Convention Policies
- Weight, Ergonomics, and Transportability for Long Convention Days
- Building a Convention Repair Kit for 3D Printed Props
- Conclusion
- Frequently Asked Questions
Last Updated: September 26, 2026
Why 3D Printed Props Dominate the Convention Floor
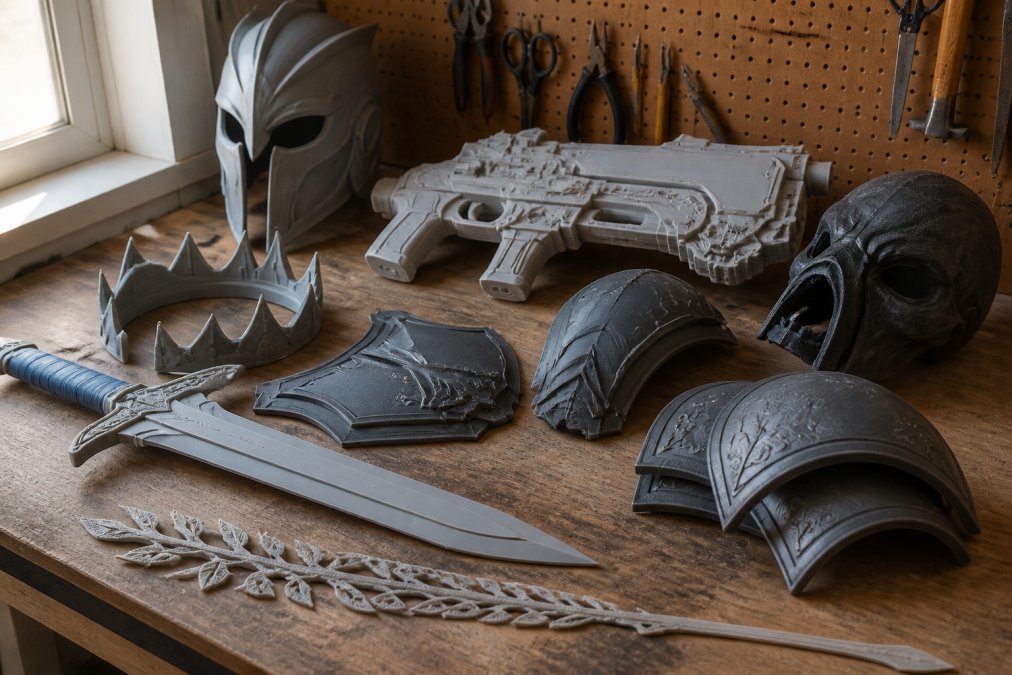
Walk any convention hall and you will spot them: armor with crisp edges, blasters with movie-accurate details, swords that look forged rather than printed. The best 3D printed props for conventions have changed what cosplayers can build at home. This guide from LumaLayer Creations breaks down materials, finishing, safety rules, and repair kits so your build survives the weekend.
Best Materials for 3D Printed Props: PLA vs PETG vs Resin
The best materials for 3D printed props depend on where the prop will live. Display pieces and cool-weather builds work fine in PLA. Anything worn for hours in a warm hall needs PETG or resin.
Here is how the three main options compare:
| Material | Heat Resistance | Strength | Best For |
|---|---|---|---|
| PLA | Low | Moderate | Display props, cool venues |
| PETG | Moderate | High | Wearable armor, blasters |
| Resin | Moderate | High (brittle) | Detailed replicas, small parts |
Heat Resistance: Why PLA Warps in a Hot Car
PLA starts to soften at temperatures a parked car reaches on a summer day. Leave a PLA sword on a dashboard and you may return to a drooping blade.
Resin Printing for Detail, Filament for Durability
Resin printing wins on detail. Layer lines nearly vanish, so small emblems and intricate filigree look sharp with little sanding. The trade-off is brittleness. Thin resin pieces chip when they hit a crowd.
Print small detail pieces in resin, then glue them onto a PETG or PLA frame. You get sharp looks and a body that survives the con floor.
Top 3D Printed Props That Turn Heads at Conventions
Armor, blasters, swords, and scale models dominate convention floors because they photograph well and show off print quality. The best 3D printed props for conventions balance looks with wearability.
Wearable Armor and Accessories
Armor is where 3D printing shines. You can scale every plate to your own measurements, something off-the-shelf costume pieces cannot do. Popular builds include:
- Chest plates and pauldrons
- Bracers and gauntlets
- Helmets and masks
- Gothic-inspired jewelry and accessories
Blasters, Swords, and Scale Models
Weapons and models are the other big category. Blasters and swords need structural integrity for transport, while scale models are display pieces that rarely leave the shelf.
Skipping the internal rod on a long sword is the most common cause of mid-con breakage. A blade that flexes at the hilt will crack at the seam within a day.
Cosplay Prop Finishing Techniques for a Professional Look
Cosplay prop finishing techniques separate a rough print from a screen-ready replica. The process takes time, but each step hides layer lines and adds durability.
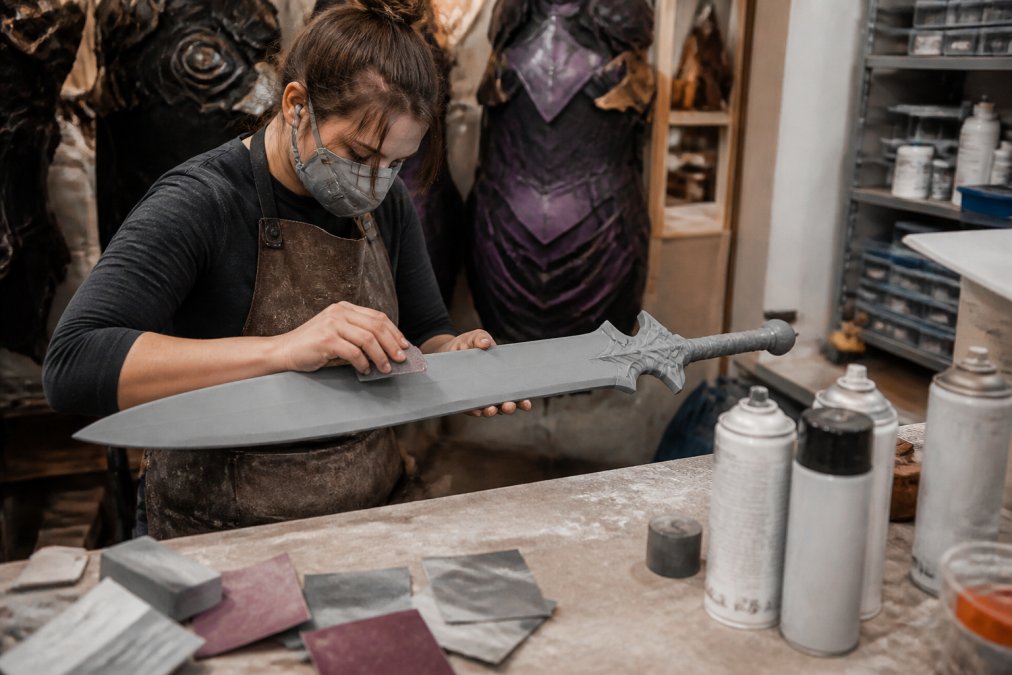
- Sand: coarse to fine grit
- Fill: spot putty on deep lines
- Prime: light coats, sand between
- Paint: base, detail, weathering
- Seal: clear coat or epoxy
3D Printed Cosplay Weapon Safety Rules and Convention Policies
3D printed cosplay weapon safety rules vary by event, so check your convention’s prop policy before you build. Most shows ban metal blades, real firearms, and anything that fires a projectile. Many also require a visible orange tip on gun props.
The Orange Tip Rule, Explained
An orange tip is the single most common failure point for 3D printed blasters. The rule exists so staff and attendees can instantly tell a prop from a real firearm. A painted-on stripe usually does not count. Most policies require a solid orange tip that is permanently attached and visible from the side, not just the muzzle end.
Practical build approach:
- Print the tip as a separate piece in orange filament, then epoxy it to the barrel. This survives handling better than paint.
- If you must paint, use orange vinyl or a printed cap rather than spray paint, which chips at check-in.
- Make the tip at least the diameter of the barrel and long enough to read from a few feet away.
- Do not make the tip removable. A tip that can be swapped off reads as a concealable weapon to some staff.
What Actually Happens at Weapons Check
Weapons check is a physical inspection, not a paperwork exercise. Staff will:
- Flex the prop to test for hidden metal cores or rigid inserts.
- Look for moving parts, triggers, or anything that can chamber a projectile.
- Weigh the prop by hand. Very heavy props may be flagged as a hazard in crowds.
- Check the orange tip under different lighting.
- Ask you to demonstrate how you carry it (shoulder, back, holster).
Bows, Staffs, and Long Props
Bows must be unstrung or the string loosened so the limbs have no tension. A strung bow, even a printed one, can be treated as a functional weapon. For staffs and polearms, check the length limit. Many events cap props at a height that lets you move through a crowd without sweeping people.
Build-for-Compliance Checklist
- Print blasters with a solid barrel and no firing mechanism.
- Attach a permanent orange tip in orange filament.
- Round sword tips and thicken edges.
- Avoid metal rods that extend into the visible blade. If you need a core for strength, keep it fully enclosed and non-magnetic where possible.
- Keep total weight low enough to carry for hours.
- Bring a printed copy of the convention’s prop policy to check-in. Staff sometimes apply rules inconsistently, and a printed policy helps resolve disputes.
Do not assume a prop that passed one convention will pass another. Policies change year to year and event to event. Recheck the current policy before every show.
If your prop fails inspection, staff may tag it, store it, or ask you to return it to your room. Build with a margin of safety so you are not the cosplayer arguing at the door.
Weight, Ergonomics, and Transportability for Long Convention Days
A prop that feels fine for five minutes can wreck your back by hour six. Ergonomics of wearable props is the part most builders ignore until their shoulders ache. The fix is to design for the body and the day, not just the photo.
Designing for Wear, Not Just Looks
Weight distribution matters more than total weight. A 10-pound prop carried close to your center of mass feels lighter than a 5-pound prop hanging off one shoulder. When you design armor or a large weapon, think about where the load lands.
- Spread armor weight across both shoulders and the torso rather than one side.
- For back-mounted props, keep the heaviest section low and close to your spine.
- Use wide, padded straps instead of thin cords. Thin straps cut into skin over a full day.
- Add foam or fabric padding at every contact point: shoulders, hips, collarbones, and where a helmet meets your forehead.
Hollowing and Infill, Revisited
Hollow large pieces with 2-3 walls and modest infill. For pieces that do not bear load, 10-15% infill is often enough. For structural parts like a sword hilt or a shoulder mount, use 3-4 walls and 20-25% infill. The goal is stiffness where it counts and lightness everywhere else.
Packing and Transport
Transportability matters too. A prop that will not fit in your car or a bin is a prop that stays home. Design armor in stackable sections, and use magnets or clips so pieces come apart for travel and snap together on site.
Practical packing approach:
- Measure your vehicle’s trunk or back seat before you finalize prop dimensions.
- Build large props in two or three sections that nest inside each other.
- Use rare-earth magnets or printed clips at seams. Test them under load before the event.
- Line your prop bin with foam or towels so pieces do not rub and chip in transit.
- Label each section so reassembly is fast in a crowded hotel room.
The Eight-Hour Test
Before the convention, wear your full build for at least two hours at home. Walk, sit, climb stairs, and raise your arms. Note every pressure point and fix it before the show.
Print hollow, pad contact points, and build in sections. Light props that pack flat get worn more often than heavy showpieces. Test the full build for two hours before the event, and fix every pressure point you find.
Building a Convention Repair Kit for 3D Printed Props
Every cosplayer needs a repair kit for convention floors, because something always cracks. A small kit fits in a backpack and saves a weekend.
Pack these items:
- Super glue and two-part epoxy
- Small sandpaper sheets
- Matching paint and a brush
- Duct tape and masking tape
- Zip ties and safety pins
- A few spare printed parts
- A small screwdriver set
Conclusion
Every convention build faces the same test: heat, crowds, and a full day of wear. The props that survive are the ones planned for it, not just printed and painted.
Frequently Asked Questions
How do you ensure 3D printed props meet convention weapon policies?
Check the specific convention’s prop policy before you build. Most rules require props to pass a weapons check, be clearly non-functional, and have no sharp edges. Add orange tips to blasters, avoid metal components, and keep swords blunt. Some events require zip-tied triggers or peace-bonded weapons. Bring your prop to the safety desk early on day one so staff can inspect and tag it before the floor gets busy.
What are the best materials for 3D printed props that need to survive a full convention weekend?
PETG offers the best balance of strength and heat resistance for wearable props and armor. PLA works for indoor display pieces but warps in hot cars or direct sun. Resin printing captures fine detail for replica accessories but stays brittle, so it suits small items rather than large swords or blasters. For structural integrity, use higher infill density on load-bearing parts and consider epoxy coating on high-wear surfaces.
How do you finish 3D printed props for a professional look?
Start by sanding layer lines with progressively finer grits, then fill gaps with spot putty. Apply a primer coat to reveal remaining imperfections, sand again, then paint in thin layers. For a smooth, durable finish, seal with a clear coat or epoxy. Weathering with dry brushing and washes adds depth for cosplay prop finishing techniques that read well in photos and on the convention floor.
How can I make large 3D printed props lighter for long convention days?
Use hollowing and lower infill density (10-15%) on non-structural sections, then reinforce joints with internal ribs or dowels. Split large props into assemblable pieces so weight distributes better and transport is easier. For wearable armor, pad contact points with foam and balance weight across shoulders or hips rather than one arm. A lighter prop means fewer breaks and less fatigue by hour six.
The convention floor is unforgiving, and a prop that fails costs you the weekend. LumaLayer Creations crafts original 3D-printed gothic and cosplay accessories with the detail and durability that long events demand. Browse our designs, request a custom build sized to your measurements, and step onto the floor with gear made to last. Explore our Shop and find your next centerpiece.
0 Comments