
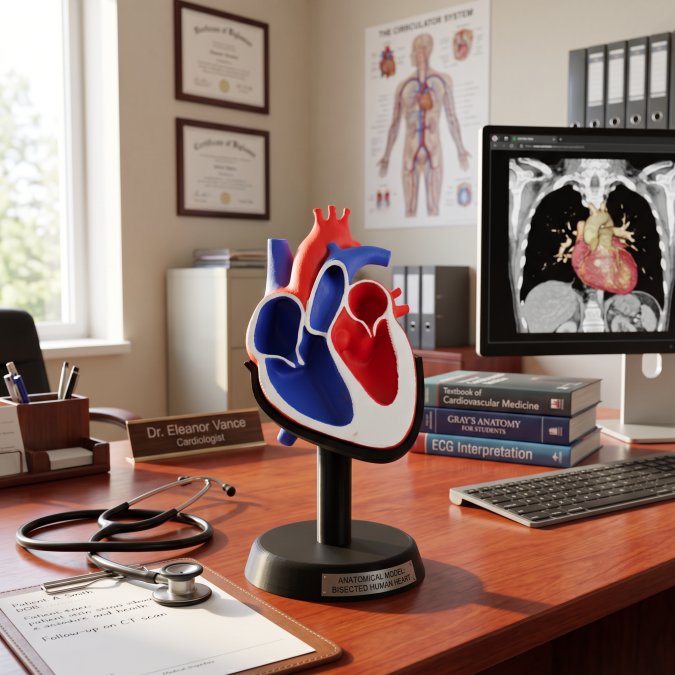

Table of Contents
- What to Look For in Anatomy Teaching Tools for Educators
- 3D Printed Anatomical Models for Schools: Hands-On Learning
- Physical Kits, Prosection, and Cadaveric Dissection Resources
- Digital Platforms: 3D Visualization, Virtual Dissection, and Radiology
- Best Practices for Teaching Human Anatomy in a Blended Classroom
- Budget-Friendly DIY Anatomy Labs and Inclusive Teaching
- Frequently Asked Questions
Last Updated: September 27, 2026
What to Look For in Anatomy Teaching Tools for Educators
Anatomy teaching tools for educators are the physical models, digital platforms, and lab resources instructors use to help students understand the structure of the human body. Choosing well matters because the wrong tool wastes budget and class time. At LumaLayer Creations, we have watched instructors build entire courses around the models they can actually afford and handle.
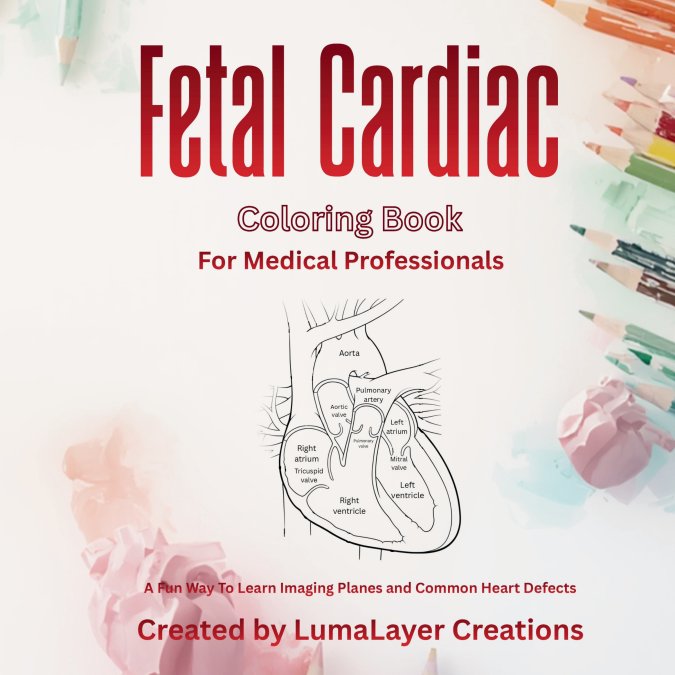
Matching Tools to Learning Outcomes
A common mistake is buying tools before defining what students should walk away knowing. Start with the outcome, then work backward.
- Structure identification: physical models and labeled diagrams work best
- Spatial relationships: 3D visualization and augmented reality help most
- Clinical reasoning: radiology images and case-based digital tools
- Retention over time: hands-on repetition with tangible models
3D Printed Anatomical Models for Schools: Hands-On Learning
3D printed anatomical models for schools solve a problem traditional plastic models cannot: customization. An instructor can request a specific structure, a particular scale, or a model that shows a condition students will encounter in clinical work.
Physical Kits, Prosection, and Cadaveric Dissection Resources
Cadaveric dissection remains the gold standard for deep anatomical understanding, but access is limited by cost, lab space, and donor programs. Prosection, where students study pre-dissected specimens, offers many of the same benefits with less time and facility demand.
The real trade-offs
- Dissection: highest fidelity for tissue texture, fascial planes, and inter-individual variation. Requires a licensed anatomist or trained faculty, a ventilated lab, a body donation program or anatomical gift registry, and roughly a full term of contact hours. Most programs reserve it for medical, dental, and physical therapy students.
- Prosection: pre-dissected specimens prepared by faculty or a body bequest program. Students rotate through stations rather than dissect. Cuts lab time substantially and reduces the faculty-to-student ratio needed, but students lose the discovery process that builds three-dimensional intuition.
- Plastinated specimens: silicone- or polymer-preserved prosections that are dry, odorless, and durable for years. Popular in undergraduate and high school settings where a wet lab is not feasible. Higher upfront cost per specimen, near-zero maintenance.
- Physical kits and models: the fallback when neither cadavers nor prosections are available. The trade-off is real, models cannot replicate tissue texture or the variability between individual bodies. Be honest with students about that limitation.
Where to source specimens and kits
- Anatomical gift programs: most states have a state anatomical board or a university-based body donation program that supplies medical and allied health schools. Eligibility and paperwork vary; start the process a full academic year ahead.
- Plastination vendors: several U.S. companies produce plastinated prosections and cross-sections for teaching; lead times are typically several months.
- Commercial model kits: the standard catalog names, Somso, 3B Scientific, Denoyer-Geppert, and Anatomy Warehouse, cover everything from a single articulated skeleton to full torso models with removable organs. Budget models are adequate for identification; premium models hold up better under daily handling.
- DIY and 3D-printed supplements: useful for structures that are hard to source, such as a specific nerve pathway or a congenital anomaly. See the 3D printing section above.
If your program has no cadaver access
A workable substitute sequence that many instructors use:
- Anchor the unit with a plastinated or high-quality model of the target system.
- Add a digital virtual dissection table or DICOM dataset so students see real anatomical variation.
- Use a case-based question bank tied to the same structures.
- Bring in a guest clinician or a recorded prosection video for the structures students cannot touch.
This is not equivalent to dissection, but it produces measurably better structure retention than a lecture-only approach, and it is defensible to accreditors when documented as a deliberate pedagogical choice.
Digital Platforms: 3D Visualization, Virtual Dissection, and Radiology
Digital platforms now cover everything from interactive 3D visualization to virtual dissection and radiology integration. These tools shine where physical specimens cannot go: showing function, layering systems, and connecting anatomy to real clinical imaging. The strongest platforms let students rotate, isolate, and quiz themselves on structures.
What the major platforms actually do
Most instructors end up evaluating a handful of well-known options, and each has a distinct pedagogical personality:
- Complete Anatomy (Elsevier): a high-fidelity 3D atlas with layered systems, muscle movement simulation, and built-in radiology cross-sections. Strong for spatial reasoning and clinical correlation; subscription-based per seat, which matters at scale.
- Visible Body (Human Anatomy Atlas and Anatomy & Physiology): mobile-first 3D models with quizzes and augmented reality mode on supported phones and tablets. Good for independent study because students can carry it in a pocket.
- BioDigital Human: browser-based 3D body with embeddable views, useful when you want to drop a rotating model into an LMS page or lecture slide deck.
- Anatomy.tv (Primal Pictures): cadaver-derived 3D imagery with biomechanics and therapy views; often licensed at the program level rather than per student.
- BodyViz and Sectra Table: DICOM-based virtual dissection tables that let students slice through real patient CT and MRI datasets, the closest digital analog to prosected specimens.
- Anatomage Table: a virtual dissection table widely used in medical and allied health programs; students “cut” through a digitized cadaver and can toggle between anatomical and radiological views.
Virtual dissection vs. virtual cadaver tables
These are not the same thing. A virtual dissection app lets students peel away layers of a rendered model. A virtual cadaver table works from real scanned human data, so students see actual anatomical variation, the small artery that runs atypically, the variant muscle belly. If your learning outcome is “recognize normal variation,” the table wins. If it is “learn the canonical structure,” the app is faster and cheaper.
Radiology integration done right
Radiology integration is the piece most programs underuse. The mechanism that works: pair a plain film or CT slice with the corresponding 3D model side by side, then ask students to identify the same structure in both. Repeat with a pathology case, a pneumothorax on chest X-ray next to a normal lung model, and you have built clinical correlation without a cadaver lab.
Where AI and AR change the picture
This is the gap most published guides skip. Two shifts are worth watching:
- Generative AI as a study partner: students now paste a structure list into a chatbot and ask for clinical vignettes, mnemonics, or quiz questions on demand. The pedagogical risk is hallucinated anatomy; the fix is to constrain the AI to your syllabus and require students to verify every claim against a primary source.
- AR overlay: apps like Visible Body’s AR mode and Complete Anatomy’s AR view project a 3D model onto a real tabletop. The mechanism matters, students physically walk around the model, which builds the spatial encoding that flat diagrams cannot.
- AI-driven assessment: some platforms now auto-generate labeling quizzes from a model and adapt difficulty based on student accuracy. Useful for formative checks; do not rely on it for summative grades without reviewing the item bank.
Best Practices for Teaching Human Anatomy in a Blended Classroom
Best practices for teaching human anatomy in a blended classroom start with one principle: put the hands-on work where it counts and move the memorization online. Class time is too valuable for labeling drills.
- Before class: assign terminology and multimedia tutorials for independent study
- In class: run hands-on model work, prosection, and group problem-solving
- After class: reinforce with question banks and short self-assessments
- Throughout: tie every structure back to a clinical scenario
Budget-Friendly DIY Anatomy Labs and Inclusive Teaching
Budget-friendly anatomy labs are possible without sacrificing quality. The key is prioritizing a few high-impact tools over a large collection of mediocre ones.
A practical DIY approach:
- Start with two or three versatile models covering the systems you teach most
- Print or source low-cost labeled diagrams for daily use
- Use free digital anatomy resources for terminology and self-testing
- Build a shared question bank instead of buying one
- Request custom models only for structures you cannot find elsewhere
|
Goal |
Low-Cost Option |
Higher-Investment Option |
|---|---|---|
|
Structure identification |
Printed diagrams, shared models |
Full model collection |
|
Spatial understanding |
Free 3D apps |
AR-enabled platforms |
|
Clinical correlation |
Radiology image sets |
Integrated virtual dissection |
|
Custom structures |
Generic catalog models |
Custom 3D printing |
|
Accessibility |
Digital alternatives |
Multi-format course design |
Frequently Asked Questions
What are the best 3D printed anatomy models for classroom use?
The best models depend on your learning objectives. For high school biology, a 3D printed heart, kidney, or skeleton set works well because students can handle each structure repeatedly. For clinical or pre-med courses, look for models that separate into layers so students can trace vessels and nerves. Durability matters most in classrooms where many hands touch the same model each week, so ask about material thickness and replacement parts before ordering.
How do tactile anatomy tools improve student learning outcomes?
Tactile tools let students physically rotate, separate, and reassemble structures, which reinforces spatial relationships that flat diagrams cannot show. When paired with anatomical terminology drills and clinical correlation exercises, hands-on models help students connect a structure’s shape to its function. Many educators pair 3D printed anatomical models for schools with digital 3D visualization so students see the same structure from multiple angles.
Are digital or physical anatomy models better for high school students?
Both have a place. Physical models build muscle memory and work without screens, which suits lab stations and group work. Digital tools offer virtual dissection, radiology overlays, and instant labeling that physical models cannot. A blended approach, where students rotate a physical model and then label the same structure in a 3D app, tends to produce stronger knowledge retention than either format alone.
How can educators integrate custom anatomical models into their curriculum?
Start by mapping each model to a specific learning outcome, then build a short activity around it, such as a five-minute structure identification drill or a group comparison of normal versus pathological anatomy. Custom 3D printed models let you request specific structures, scale, or color coding to match your syllabus. Pair each hands-on session with assessment methods like question banks or practical exams to confirm students retained the material.
Building an anatomy course that works for every student takes more than a catalog order. It takes tools matched to outcomes, a blended structure, and a willingness to adapt. LumaLayer Creations helps educators get there with custom 3D-printed anatomical models, original designs, and independently published learning materials that make complex biological structures tangible for classrooms and clinics. Explore our shop to find models built for real teaching, not just display.
0 Comments